

We had a blast building this playhouse for our kids. It was great to have a project to work on together and we are so happy with the finished product! We have had a few people ask us for our plans, so I just wanted to share what we did. Our House is 42" x 54" (not including the stairs) and 8 ft. tall.
Frame Cut list
4- 8' posts
Front:
2- 51"
4- 45"
2- 17.5"
4- 13.5"
Back:
1- 54"
2- 51"
4- 45"
Left Side:
3- 45"
Right Side:
3- 45"
2- 35"
2- 12"


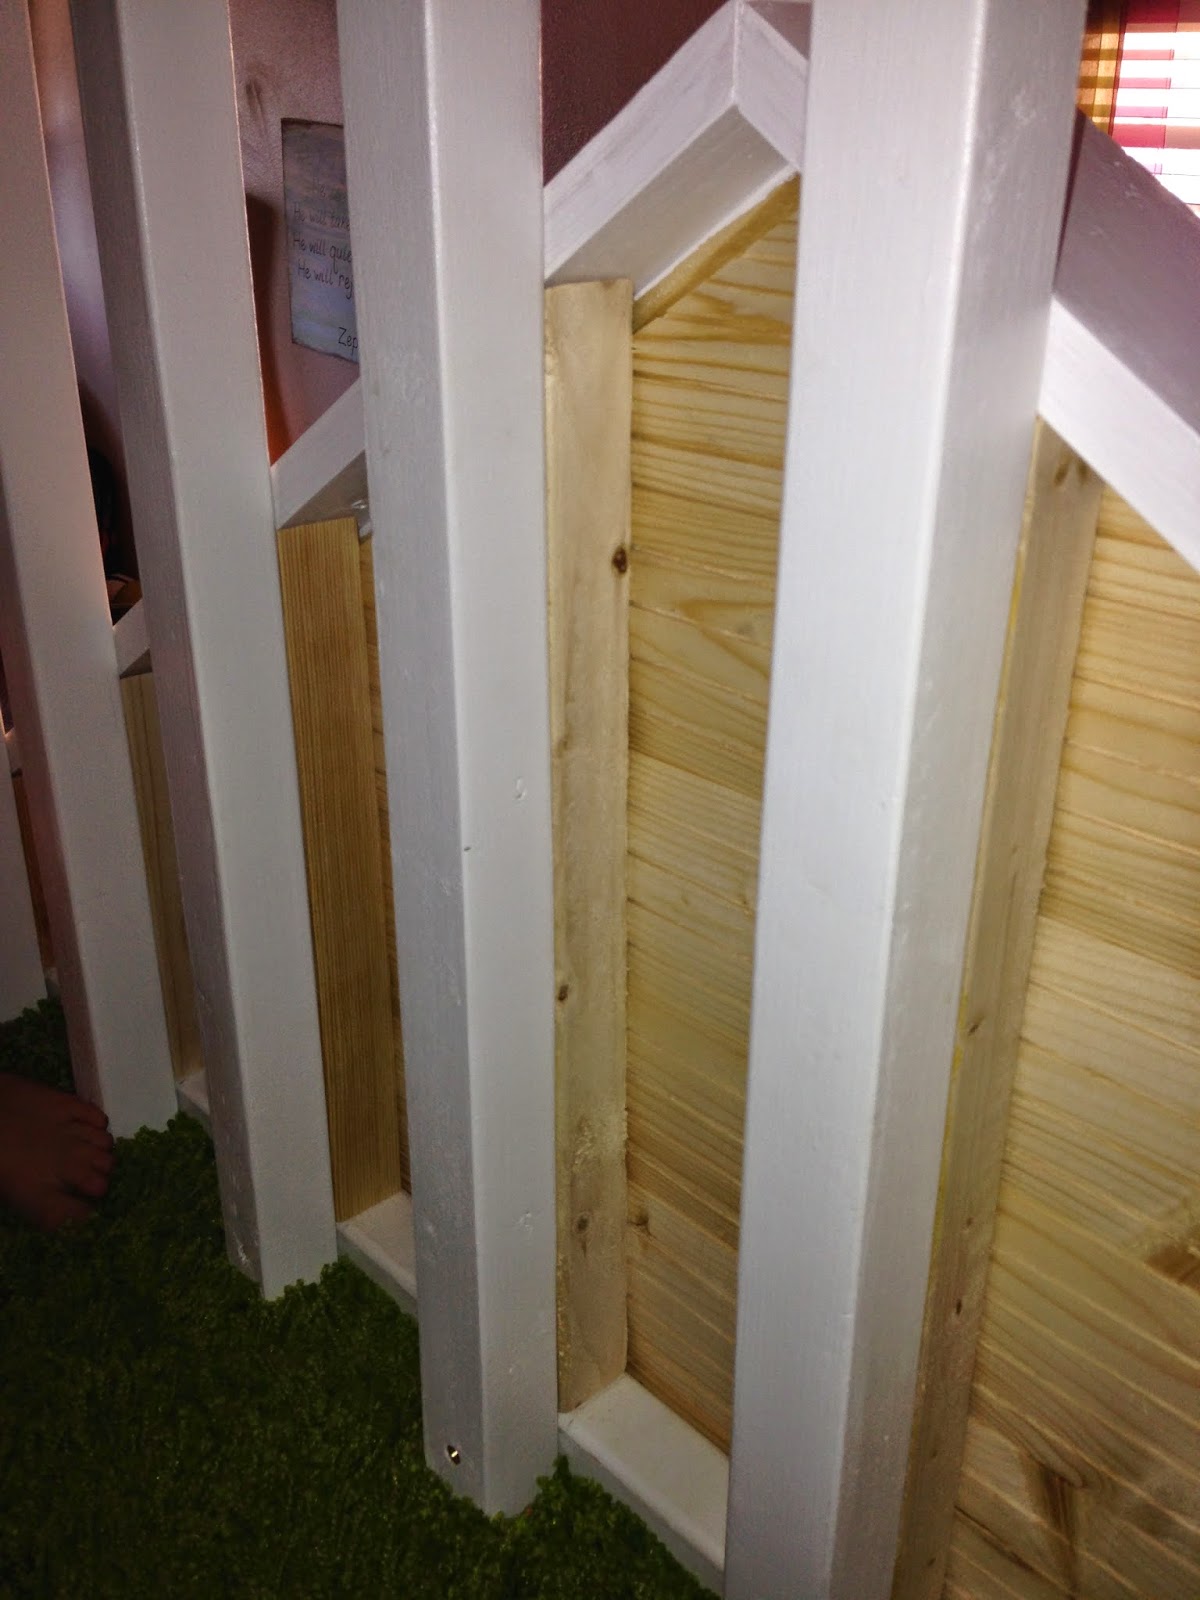
We built the frames for the 4 walls, but did not add the 8 foot pieces until we brought them inside. The spacing and height of our windows was determined by the 3 1/2" tongue and groove paneling (This Paneling from Lowes) we used to create the siding look. We did not want to have to notch out the pieces of paneling so we had to space things in multiples of 3 1/2". If you use something different than the paneling, you may need to adjust the windows.

(the board at the bottom of the door was just used to brace that frame until it was all put together--then it was removed)

We brought everything inside and screwed the 8 foot posts onto the front and back walls. Then we screwed the 4 walls together. We screwed the brace pieces near the ceiling at this point too.


We added these white 2x4 pieces between the 8 foot posts to create a lip above the floor piece. cut 2 at 51", 1 at 35" and the one on the door side is a 17" with a 45" 2x4 up to the top. (the top 2x4 on your left side is 35" and 17" on the right side) This will leave room for the door. We put an 18" brace piece at the top of the door. (this had to screw into the inside of the top as there was no way to screw it in flush with the rest of the top.)


Next we added the floor of the second story. We used 3/4" MDF cut at 51" x 39" (add 2 more 39" 2x4's across the frame under the floor to brace it)

We found out the hard way not to paint the paneling before you hang it up because little bits of paint in the tongue and grove part will make it uneven Our two sides were off a little bit and the long piece over the door wouldn't connect right. We had to tear it off and start over.

I bought this rug at IKEA and cut it to size with a razor knife.

Make sure you leave some hanging out the door. Pay attention to where you cut...you will need some for the stairs too.

For the bars upstairs, we used 10- 2x2s cut 44" and screwed into the back of the top rail and the lip around the floor. On the front there is 4.25" between each bar and on the door side, there is 4.5" between the bars. It is best to pre drill these holes as the 2x2s split easily. Make sure the carpet is installed before the bars.


Next we added the eave. We used 5 more boards of 54" paneling and drew a straight line from the center of the top to the corners of the bottom and cut them at that angle. I think the angle was 33 degrees. We added another 2"x2" piece between the eave and the upstairs bars to stabilize this piece.

The stairs were probably the most difficult part. We used .75" MDF and used a combination of screws, wood glue, and dowels to connect it. We made our staircase 12" deep, but if we had it to do again, we would make it 18". (although I'm not sure the rug from IKEA would be large enough to cover the upstairs and 18" wide stairs)
 PDF Stairs

We clamped the 2x2s to the stairs and figured out the height we wanted, clamped a 1x2 to it and drew lines on the 2x2x. then we cut everything and used a nail gun to attach the railing to the posts. We used lots of nails to attach the posts to the stairs. It came out much more sturdy than I thought it would. We added a tall compartment at the back because we have lots of swords, fishing poles, etc that never seem to have a place in our playroom. We planned to add a little door to that part, but decided to leave it open.

Another option would be to buy this from IKEA and add a railing. or skip the stairs and make a ladder instead.

Next we added the roof pieces. We notched the ends out so it would fit flush against the 8 ft pieces and extend to the edge of the house. We angled the tops at 33 degrees to create the point of the roof.

Next we added 1X4 pieces to the inside of the windows and doors with the nail gun to cover the screw holes and give it a clean and smooth look. We used 1x 5 pieces and rounded the edges to give a little lip on the window sills.

We added a gate with a spring hinge to make it a bit safer when the kids are upstairs.
I used 4- 21" bars and 2- 14" and a small piece of MDF to stop the gate.


Next we added the door trim. I love this part! It looks like a real door. We put white trim around all the windows, edges and under the eave (the angle at the point was 33 degrees).


The flower boxes are made out of 1/2 " MDF. The fronts and backs are 12" at the top and 10" at the bottom. We had to angle the edges of the bottom and the sides at 15 degrees. We glued these together with wood glue. I bought wooded circles from Joann and painted them green. The the flowers and mailbox are also from Joann and the post is made out of leftover 2x2s


We planned to put drywall on the inside of the downstairs, but decided to sand and paint the frames instead. This gave a bit more space and the kids like putting things on the little "shelves."


We had a great time designing and building this as a couple. It was nice to have a project to work on and connect over and of course, our kids love it!

